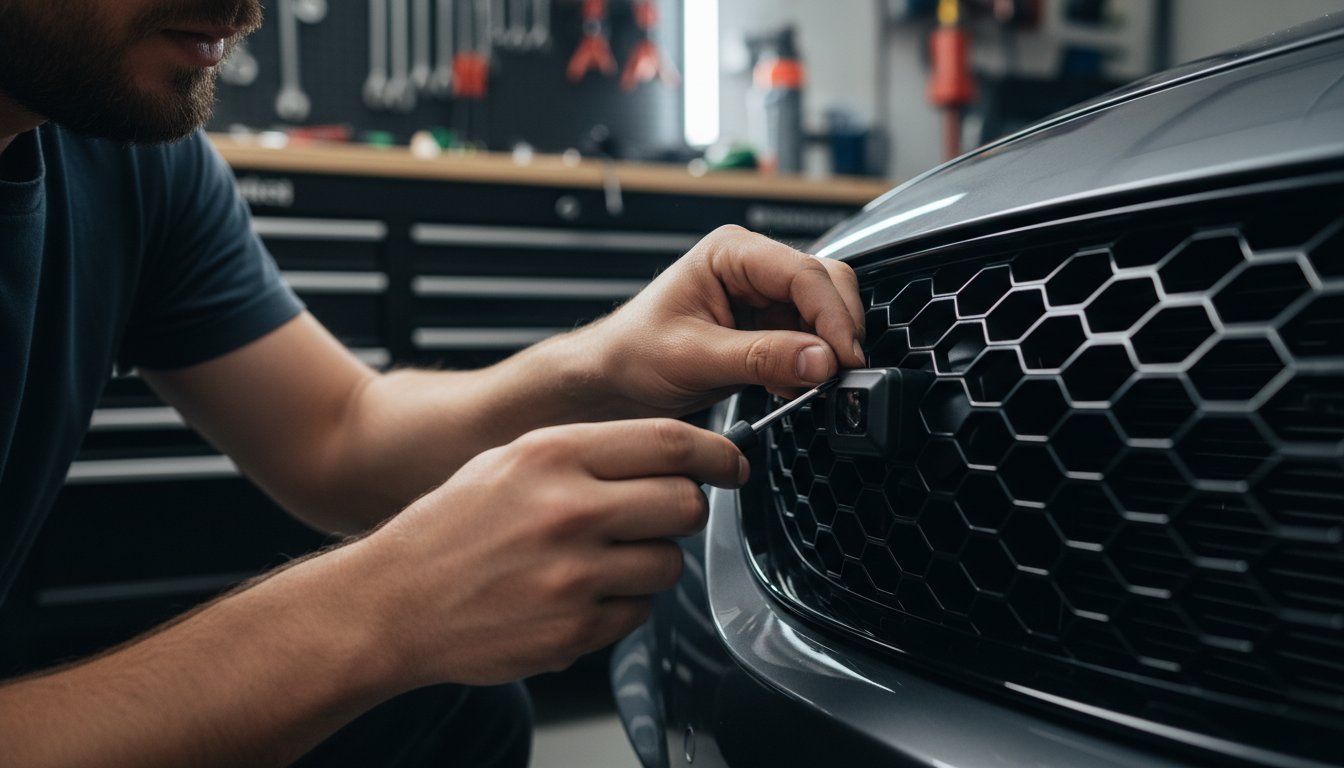
You’ve invested in the #1 best performing multi-purpose laser system on the planet. Yet, the thought of drilling into a pristine bumper or navigating your vehicle’s complex firewall can stop any enthusiast in their tracks. A subpar installation isn’t just an aesthetic failure; it’s a performance compromise, leaving you vulnerable when protection is non-negotiable. For the driver who refuses to compromise, professional fees are not the only path to perfection. This definitive guide empowers you to take control and execute a flawless diy laser jammer installation that rivals any professional shop.
Prepare to master the art of a truly stealth install. We will demystify every critical step, from the strategic, millimeter-perfect placement of your sensors to cleanly routing wiring for a true factory look. By following our expert instructions, you will achieve a system calibrated for ultimate performance against even the most advanced LIDAR threats. The result is legendary protection, hundreds of dollars saved, and the unmatched satisfaction of knowing you did it yourself, perfectly.
Key Takeaways
- A successful diy laser jammer installation hinges on a meticulous pre-install blueprint. Discover why proper planning is the non-negotiable first step to unlocking ultimate protection.
- Sensor placement is the single most critical factor for defeating police laser. This guide reveals how to identify and cover your vehicle’s key target areas for legendary performance.
- Go beyond a basic setup by mastering professional wiring and interior integration techniques. Learn to create a stealth, factory-finish install that protects your system and your vehicle’s aesthetics.
- Your installation isn’t complete without comprehensive testing. Follow our final validation process to confirm your system is active and configured for peak performance against the most advanced laser threats.
Pre-Installation Prep: Your Blueprint for a Flawless Install
A professional-grade result demands professional-grade preparation. In the world of laser countermeasures, the quality of your install directly dictates the system’s ability to defeat threats. A sloppy, rushed job leads to compromised performance, while a meticulous approach ensures your vehicle is shielded with the ultimate protection. This guide focuses on the legendary AL Priority system, engineered for a superior diy laser jammer installation experience. Before you begin, it’s critical to understand the legal landscape; while AL Priority functions as a 100% legal parking sensor, local regulations on active countermeasures can vary, so consulting a resource on Radar detector and laser jammer legality is a mandatory first step. Plan to set aside 4-6 uninterrupted hours to execute this process flawlessly.
To visualize the core principles of sensor placement, this video provides an excellent overview:
Essential Tools and Supplies Checklist
Achieving a factory-finish install requires the right equipment. Don’t compromise; assemble your complete toolkit before you begin:
- Basic Hand Tools: A comprehensive socket set, Phillips and flat-head screwdrivers, and a non-marring plastic trim removal tool kit.
- Electrical Tools: High-quality wire strippers, a crimping tool, and a digital multimeter for verifying power sources.
- Essential Supplies: UV-resistant zip ties, Tesa cloth tape or electrical tape, an add-a-fuse kit for a clean power connection, and silicone sealant for weatherproofing the firewall pass-through.
- Precision Tools: A small bubble level or a smartphone level app to guarantee your sensors are perfectly level.
Understanding Your AL Priority System Components
Familiarize yourself with the key hardware. Knowing the function of each part is fundamental to a successful installation.
- CPU/Control Box: The central brain of your defense system, processing all incoming signals and executing countermeasures.
- Laser Sensors (Heads): The ultra-sensitive eyes of the system. These compact units detect police LIDAR and transmit the powerful jamming signal.
- Control Set & LED: Your in-cabin command interface for system settings and the multi-color LED that provides critical visual alerts.
- Cabling and GPS Antenna: The high-quality wiring harness that connects all components, and the GPS antenna that enables speed-based features.
Scouting Your Vehicle: Finding Optimal Sensor Locations
This is the most critical phase of your diy laser jammer installation. Sensor placement is non-negotiable for peak performance. Walk around your vehicle and identify the best mounting points with these rules in mind:
- Identify Target Zones: Police LIDAR is aimed at the most reflective areas-typically the front license plate, headlights, and grille. Your sensors must defend these zones.
- Find Flat, Vertical Surfaces: Sensors must be mounted perfectly level and perpendicular to the road, with a completely unobstructed view forward. Even a slight angle can degrade performance.
- Plan Your Wire Route: Trace a path for the sensor cables from the front grille area back towards the engine bay and firewall, keeping them away from hot or moving components.
- Locate Firewall Access: Find an existing rubber grommet on the firewall. This is the safest point to pass the main cable from the engine bay into the vehicle’s cabin.
Sensor Head Mounting: The Critical Path to Ultimate Protection
An AL Priority system represents the pinnacle of laser defense technology, but its legendary performance is directly tied to the precision of your installation. Sensor head mounting and alignment are, without question, the most critical factors in a successful diy laser jammer installation. The goal is not merely to attach the sensors; it is to create an impenetrable defensive shield. To achieve this, you must understand how police LIDAR guns target vehicles-focusing on the most reflective areas like headlights, chrome grilles, and the license plate. For a deeper technical dive, this article on How Police LiDAR Works is an essential resource. A fractional error in alignment, even a single degree off-axis, can drastically compromise performance and leave you vulnerable. For the person that refuses to compromise, this step demands absolute precision.
Front Sensor Placement Strategy
Your vehicle’s front profile is the primary target. For ultimate protection, position the front sensors symmetrically, typically on either side of the front license plate or within the grille. The optimal vertical position is between 18 and 24 inches from the ground, ensuring maximum coverage of key target zones. Utilize the included high-grade mounting brackets or, for a completely integrated look, fabricate custom mounts. Before finalizing the position, confirm each sensor has a completely clear, unobstructed view of the road ahead-free from grille slats, bumper contours, or accessories.
Rear Sensor Placement Strategy (If Applicable)
Defending against rear-targeting LIDAR requires the same uncompromising approach. Mount the rear sensors near the rear license plate frame, adhering to the same 18-24 inch height and leveling rules as the front installation. It is critical to ensure the sensors’ view is not obscured by a trunk lip, bumper overhang, or license plate lighting. The final step in a rear diy laser jammer installation involves carefully routing the sensor cable along the vehicle’s chassis, securing it away from moving parts and heat sources, until it reaches the main control unit in the front cabin.
Achieving a Perfectly Level & Aligned Installation
Precision alignment is non-negotiable. This is what separates a professional-grade install from a deficient one. Follow these steps methodically to guarantee peak system performance:
- Level with Precision: Place a small bubble level (torpedo level) on the top, flat surface of each sensor head.
- Adjust and Confirm: Carefully adjust the mounting bracket until the bubble is perfectly centered. The sensor must be absolutely parallel to the road surface.
- Aim True: Visually confirm that each sensor is aimed perfectly straight ahead, not angled up, down, or to either side. Imagine it as a rifle scope-it must point directly at the threat.
- Secure for Performance: Once you have confirmed perfect level and alignment, securely tighten all mounting hardware to lock the sensor in its optimal position. Double-check the level after tightening to ensure it has not shifted.

System Wiring: Connecting Your Defense Network
A legendary defense system is only as strong as its connections. This critical phase of your diy laser jammer installation separates a professional-grade setup from an amateur attempt. The goal is an electrically invisible, robust, and utterly reliable network that functions flawlessly when you need it most. A meticulously wired system ensures uncompromising performance and longevity. This level of precision is not just for aesthetics; a clean, factory-look installation is paramount, especially when considering local regulations like the California Vehicle Code on Jamming Devices, which underscores the importance of a discreet and properly functioning system. Take your time here; your defense network depends on it.
Routing Sensor Cables Through the Engine Bay
Your first objective is to route the sensor cables from the front of the vehicle to the firewall with military-grade precision. The path you choose must protect the cables from the harsh engine bay environment. For an OEM-level finish and ultimate durability, follow these non-negotiable steps:
- Follow Factory Looms: Trace existing factory wiring harnesses. This is the safest path and keeps your installation looking clean and professional.
- Secure Everything: Use high-quality zip ties to secure the cables away from extreme heat sources like the exhaust manifold and any moving parts such as belts, fans, or steering linkages.
- Create a Service Loop: Near each sensor connection, leave a small, deliberate loop of extra cable. This slack allows the bumper to be removed for future service without disconnecting or stressing the wires.
Safely Passing Wires Through the Firewall
Breaching the firewall is the gateway to the vehicle’s cabin. This must be executed perfectly to maintain the integrity of your vehicle’s seals against water and fumes. Locate an existing rubber grommet on the driver’s or passenger’s side firewall-many vehicles have spares with nipples for this exact purpose. Carefully puncture the grommet with a stiff wire or an awl, tape your sensor cables securely to the end, and gently pull them through into the cabin. To complete this critical step, apply a dab of black silicone sealant to the puncture point on both sides. This ensures a permanent, waterproof seal, protecting your cabin and your electronics.
Connecting to the CPU and Power Source
This is the final connection-the central nervous system of your AL Priority setup. Mount the CPU in a hidden but accessible location, such as under the dashboard or behind the glove box. Connect each sensor cable to its corresponding, clearly labeled port. For power, the best practice is to use an ‘add-a-fuse’ tap at your vehicle’s interior fuse box. Select a switched 12V circuit (one that only has power when the ignition is on) to ensure the system doesn’t drain your battery. Finally, secure the ground wire to a solid, paint-free metal point on the vehicle’s chassis. A clean, tight ground connection is the foundation of a reliable diy laser jammer installation and is absolutely essential for peak performance.
Final Assembly: In-Cabin Setup for a Factory Finish
The exterior sensors are the eyes of your AL Priority system, but the in-cabin components are its nerve center. A truly professional installation demands an interior finish that is indistinguishable from factory equipment. This final assembly stage is where meticulous attention to detail transforms your project from a simple add-on to a seamless, integrated defense system that delivers ultimate protection.
Mounting the Control Set and LED Alert
Ergonomics and stealth are paramount. The goal is instant access to your system’s controls without compromising your vehicle’s clean aesthetic. Position the controller in a discreet yet accessible location, such as an ashtray compartment or inside the center console. The objective is to be able to operate it by feel alone. The high-intensity LED alert must be mounted in your direct line of sight-on the instrument cluster surround or at the base of the A-pillar-to ensure you receive critical visual alerts without taking your eyes off the road. Use high-quality 3M VHB double-sided tape for a secure, vibration-free mount.
Concealing Wires for a Professional Look
Visible wiring is the mark of an amateur job. Achieving a factory finish means every cable is completely hidden, a critical step in any professional diy laser jammer installation. Using a plastic trim removal tool set, carefully route all cables alongside existing factory wiring harnesses. Key pathways include:
- Under the dashboard and behind the glove box.
- Tucked securely beneath the carpet or center console trim.
- Along the door sills to connect with the CPU.
When reinstalling panels, double-check that no wires are pinched or stretched. This prevents future electrical issues and ensures the legendary reliability your AL Priority system is known for.
Connecting the Speaker and Finalizing Connections
Your system’s HiFi audio alerts must be clear and direct. Mount the compact speaker under the driver’s side dashboard, aimed towards your ears but completely out of sight. This placement ensures you never miss a critical alert from a police LIDAR gun. With all components in place, plug the control set, LED, and speaker cables into their designated ports on the AL Priority CPU. Before securing the CPU, gather any excess wiring into a neat bundle and secure it with zip ties. This final step in your diy laser jammer installation ensures your setup is not only powerful but also perfectly tidy, befitting a driver who refuses to compromise.
Power Up: Testing and Configuring for Peak Performance
You’ve meticulously routed wires and mounted sensors. This final phase is where your hard work pays off, transforming your components into an active defense shield. Powering up, testing, and configuring your AL Priority system is not an optional step-it’s the critical process that validates your protection and unleashes its legendary performance. A successful diy laser jammer installation is only complete once you’ve verified every component is operating at its peak.
The First Power-On and System Check
With the installation complete, turn your vehicle’s ignition to the ‘On’ or ‘ACC’ position. Your system check is simple but crucial:
- Listen for the distinct AL Priority startup chime and voice alert, which confirms the system is receiving power.
- Visually check that the control set’s status LED illuminates, indicating an active state.
If you don’t hear the chime or see the light, immediately turn the vehicle off and re-check your power and ground connections. A silent system is an unprotected one.
Performance Verification with a Laser Tester
The only way to be 100% certain your defense is active and correctly aimed is to test it against a dedicated LIDAR system tester. Perform a walk-around verification, aiming the tester at each sensor head from various angles and distances to mimic a real-world encounter. A successful test will trigger a full alert for each sensor, confirming your wiring, connections, and alignment are perfect. Do not skip this step; it is the ultimate proof of a professional-grade diy laser jammer installation.
Configuring Your System for Your Driving Style
AL Priority offers unparalleled control over your system’s behavior. Connect to the unit using a USB drive with the latest setup file or wirelessly via the ALPConnect mobile app. Your first action should be to update to the latest firmware, ensuring you have protection against the newest and most advanced police LIDAR threats. From there, you can customize critical settings like defense duration and alert preferences, tailoring the system precisely to your needs. This final setup ensures you are ready to defeat any threat on the road.
Ready for the ultimate defense? Choose your AL Priority system now.
Your Installation is Complete. Your Protection Begins Now.
You now possess the blueprint for total driving peace of mind. This guide has demonstrated that ultimate protection hinges on precision-from the critical placement of sensor heads for maximum coverage to the flawless integration of your in-cabin controls for a factory finish. Mastering your diy laser jammer installation is the first step to reclaiming absolute control on the road.
But a flawless installation demands a legendary system. For the driver who refuses to compromise, there is only one choice: AL Priority. Backed by its #1 Rated Performance in Independent Tests, AL Priority stands alone as the world’s first multi-purpose laser parking system. Its legendary performance and upgradeable and modular design ensure your defense is always future-proof against the next generation of LIDAR threats.
Build your ultimate defense system. Shop AL Priority now.
Take command of your journey. Drive with absolute confidence.
Frequently Asked Questions
How long does a typical DIY laser jammer installation take?
For the person who refuses to compromise, a precise installation is paramount. A standard front-only AL Priority system installation typically requires 2 to 4 hours. A complete front and rear setup on a more complex vehicle can take 6 to 8 hours. The final duration depends on your vehicle’s design, the number of sensors being installed, and your technical skill level. Rushing the process is not an option when ultimate protection is the goal.
What are the most common mistakes people make during a DIY install?
The most critical error in a diy laser jammer installation is improper sensor alignment. Sensors must be perfectly level and aimed straight ahead to effectively defeat police LIDAR. Other common failures include poor wiring, such as bad ground connections or failing to use a fused circuit, and placing sensors where their view is obstructed by the grille. These mistakes compromise the system’s legendary performance and leave you vulnerable to threats.
Can I install a laser jammer without drilling any holes in my car?
Yes, a no-drill installation is achievable using specialized mounts like a license plate frame. However, for the most secure and discreet fitment that guarantees optimal sensor placement, a custom installation involving minimal drilling often yields superior results. The best method is the one that achieves perfect alignment and coverage for your specific vehicle, ensuring maximum protection against all known laser threats. Your vehicle deserves the most powerful defense possible.
Is it better to mount the sensors in the grille or using a license plate frame?
The optimal mounting location is dictated by your vehicle’s front-end design and your performance goals. Grille mounting allows for wider placement, providing superior protection for headlights-a primary LIDAR target. For ultimate performance, this is the preferred method. A license plate frame offers a simpler, no-drill solution but provides a more centralized, fixed position. For larger vehicles, in-grille mounting is almost always the superior choice to achieve the necessary coverage.
How do I know if my sensors are perfectly level and aimed correctly?
Achieving perfect alignment is non-negotiable for peak performance. Use a small bubble level to confirm each sensor is perfectly parallel to the driving surface, both horizontally and vertically. The sensors must face directly forward, perpendicular to the vehicle’s direction of travel. For absolute precision, many professional installers use a laser leveling tool to ensure the aiming is flawless. There is no room for error when facing the deadliest laser guns on the road.
Is it legal to install and use a laser jammer in my state?
AL Priority is engineered as the world’s leading multi-purpose laser system. In its default mode, it functions as a 100% legal laser parking sensor. However, laws regarding active laser countermeasures vary significantly by state and country. It is your sole responsibility to research and comply with all local and federal regulations regarding the use of your system’s defense capabilities. Always operate your system in a lawful and responsible manner.
Leave a Reply